Onboarding
Learn how to onboard your tenant to start using IntuneAssistant
Onboarding
Welcome to IntuneAssistant! Thank you for choosing our tool to enhance your Microsoft Intune management experience. This guide will walk you through the onboarding process to get your tenant connected and ready to use all features.
What is onboarding?
Onboarding connects your Microsoft tenant to IntuneAssistant by consenting our applications to access your Intune environment. This secure process enables the tool to retrieve and display your tenant data while maintaining strict privacy standards.
Why Onboarding is Required
The onboarding process serves several important purposes:
🔐 Application Consent
Grants necessary permissions to the IntuneAssistant application and API to access your tenant data
🏢 Tenant Registration
Registers your tenant ID and domain in our backend for API access and licensing validation
🛡️ Security & Compliance
Enables abuse prevention and allows access to premium features based on your subscription
Two Key Applications
During onboarding, two applications will be registered in your tenant:
- IntuneAssistant Application - The main web interface you'll use
- IntuneAssistant API Application - Handles secure data retrieval from your tenant
Privacy Commitment
No tenant data is stored in our backend database. Only your tenant ID and domain are registered for licensing and security purposes. All Intune data shown in the application exists only in your browser session and is removed when you log out.
Onboarding Process
Getting started with IntuneAssistant is simple and takes just a few minutes:
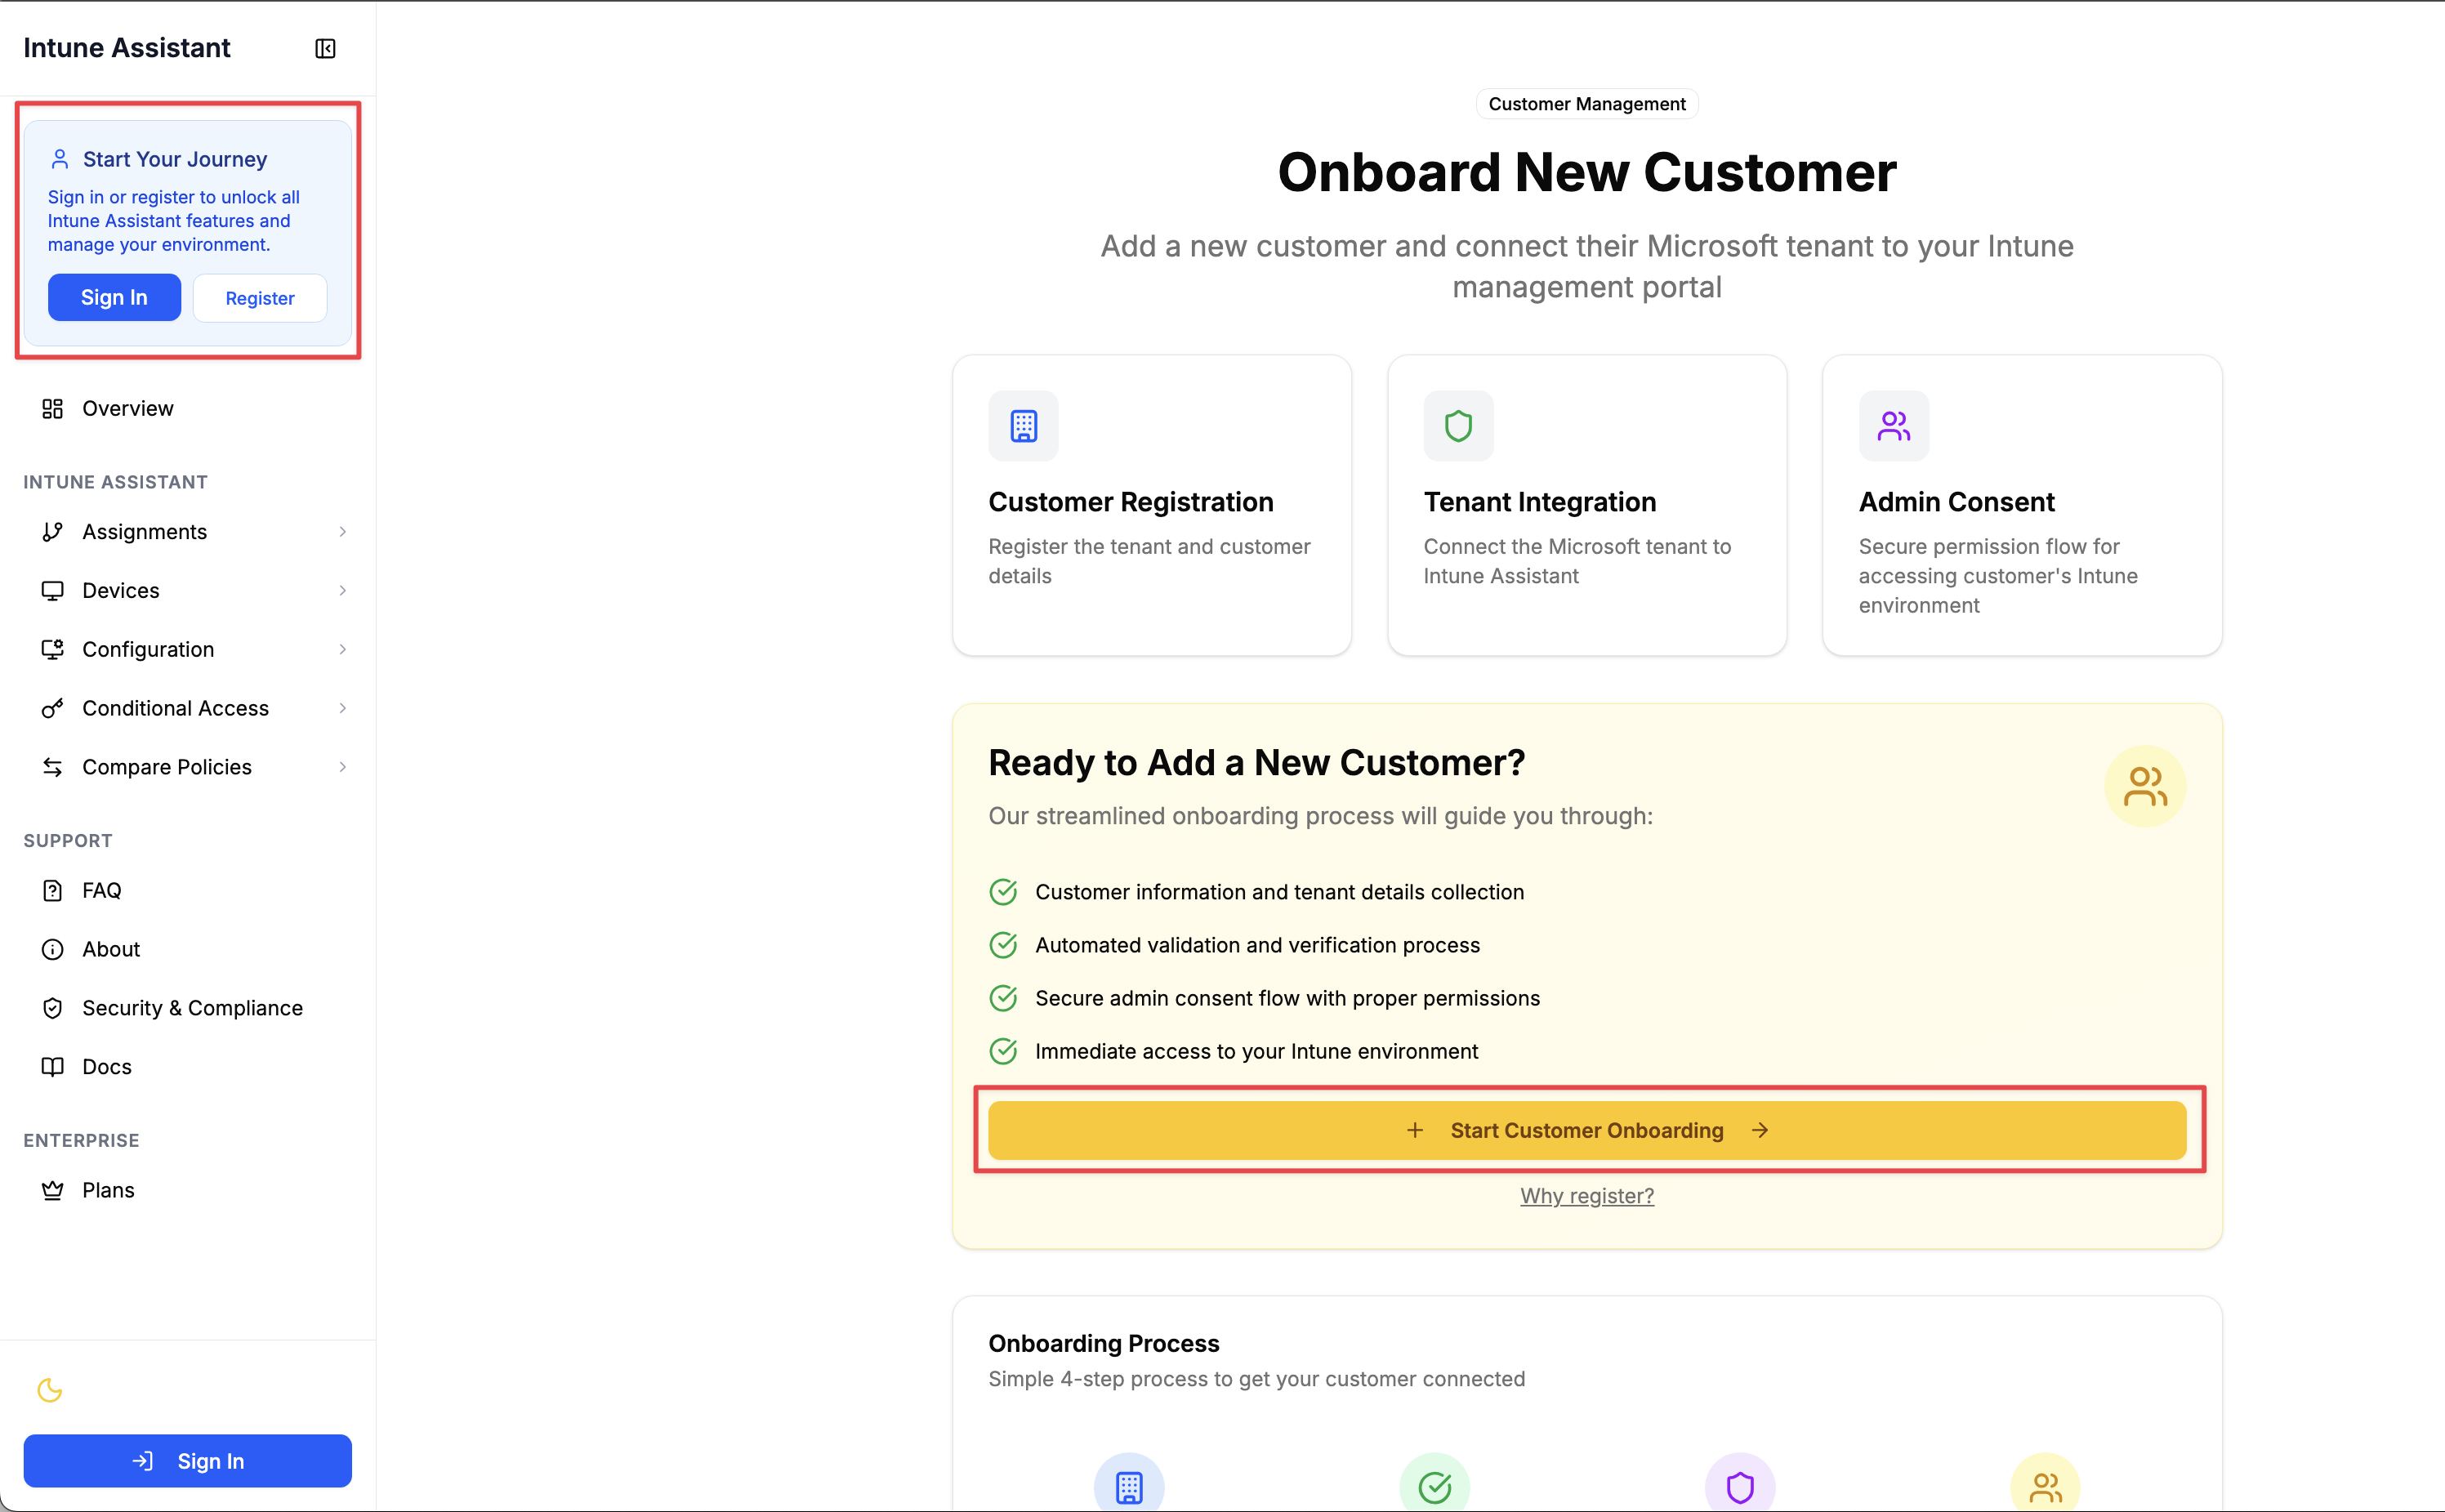
Navigate to Onboarding
Go to the IntuneAssistant onboarding page to begin the process.
Four steps are needed to complete onboarding:
- Provide Tenant Information
- Validate provided details
- Grant Consent
- Welcome to IntuneAssistant
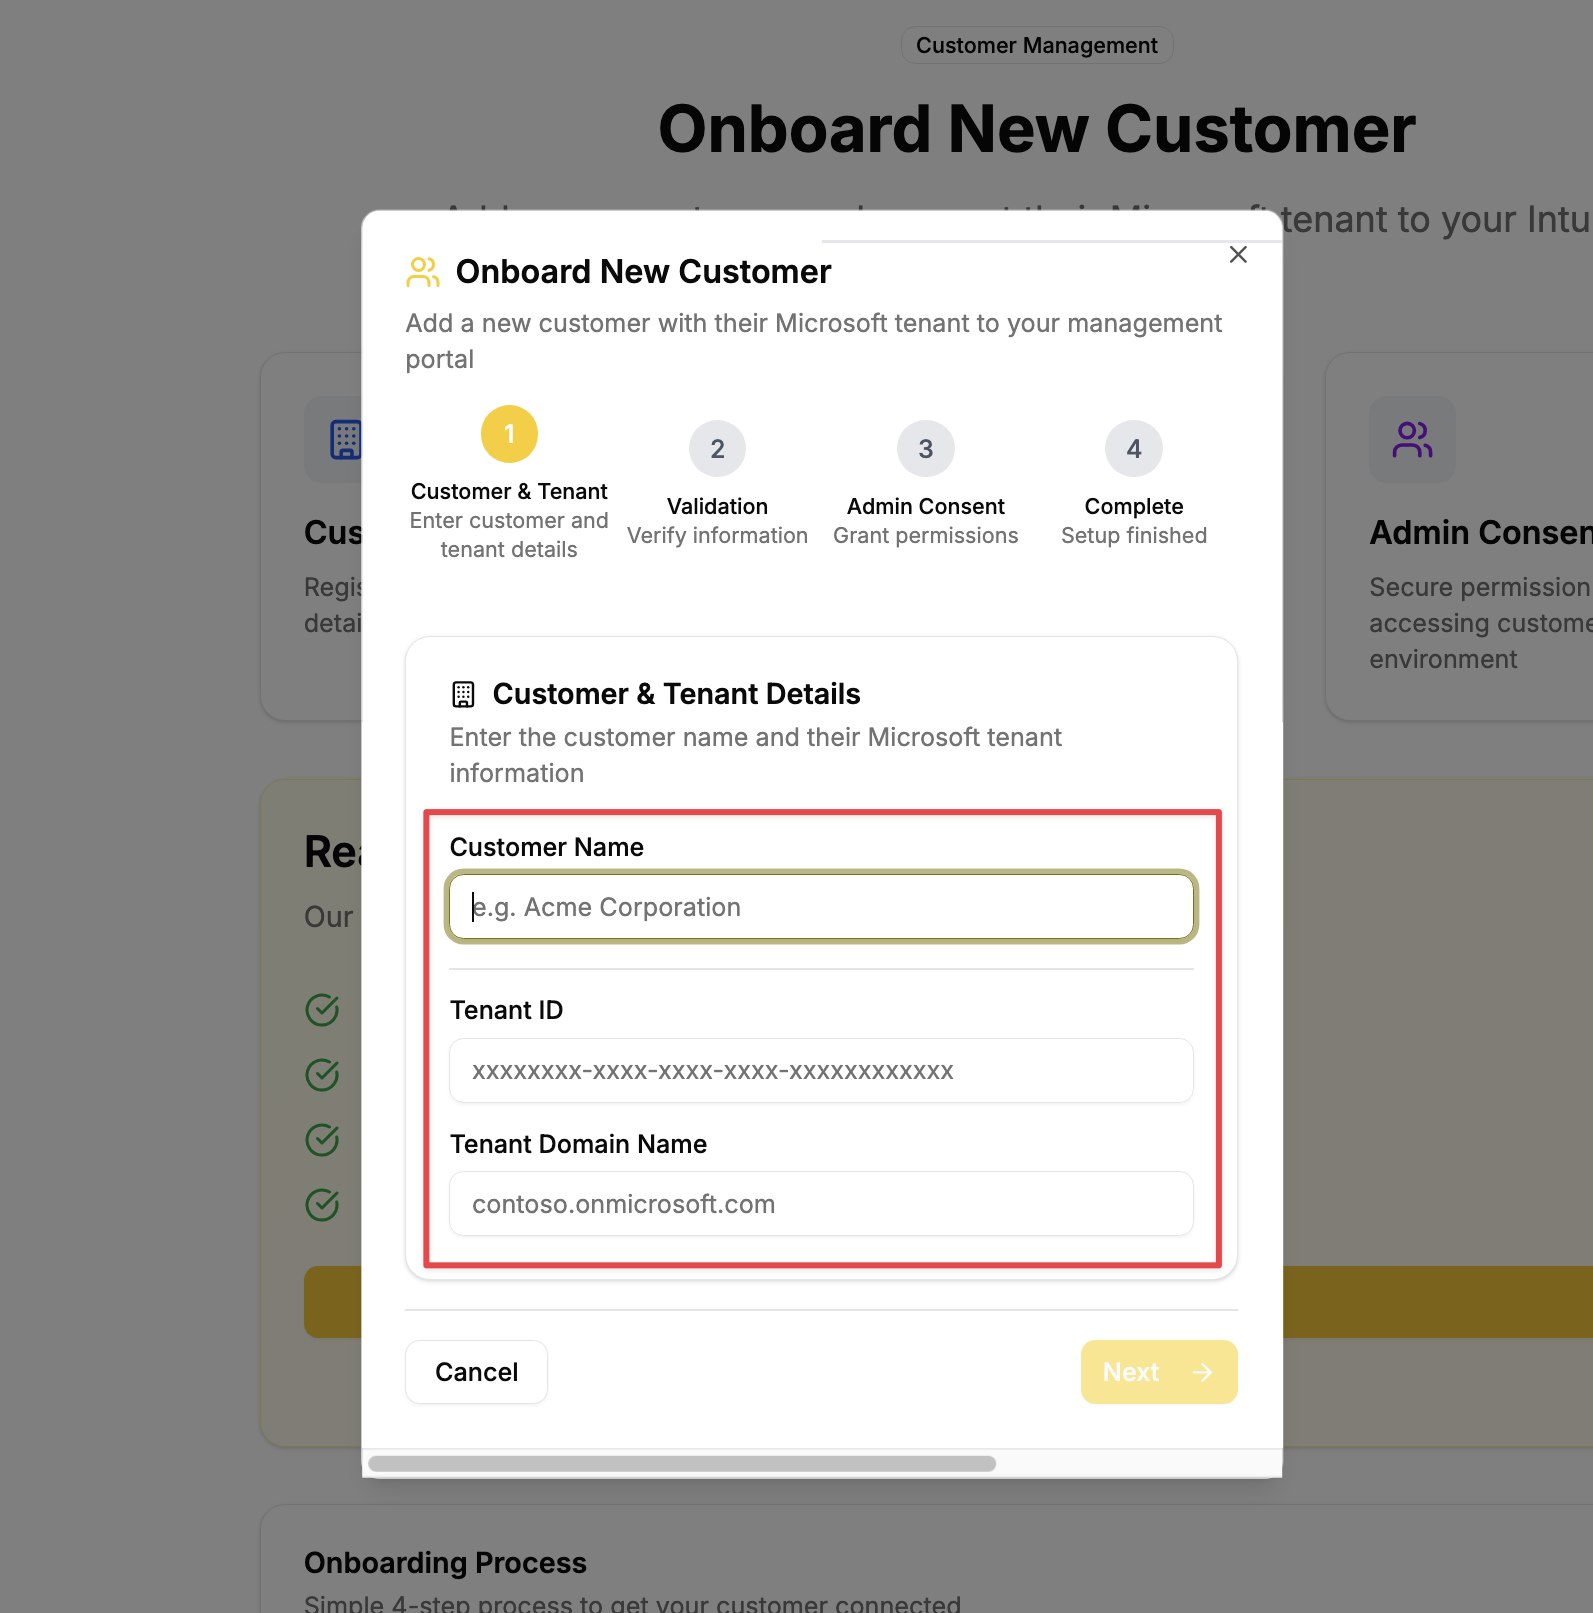
Provide Tenant Information
Enter your tenant details:
- Customer Name: Your company or organization name
- Tenant ID: Your Azure AD tenant identifier
- Tenant Domain: Your organization's Microsoft 365 domain
Validate Details & Open Consent Page
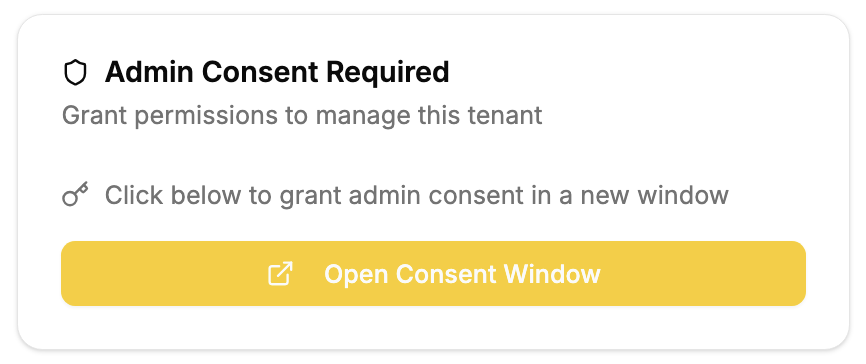
Click the Open consent button. The system will verify your tenant details. If valid, you'll proceed to the consent page. A pop-up window will open for Microsoft login.
After validation, you will see the following confirmation:
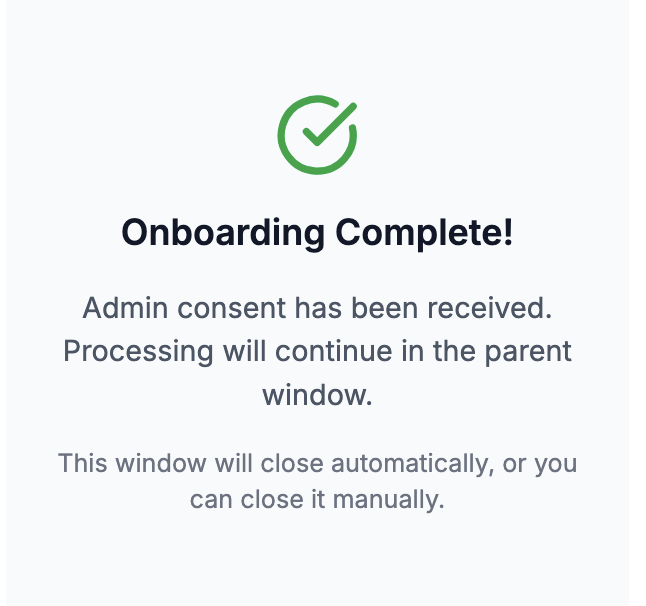 Close the pop-up to return to IntuneAssistant.
Welcome to IntuneAssistant
At this point, your tenant is registered in our backend. You can now start using IntuneAssistant features.
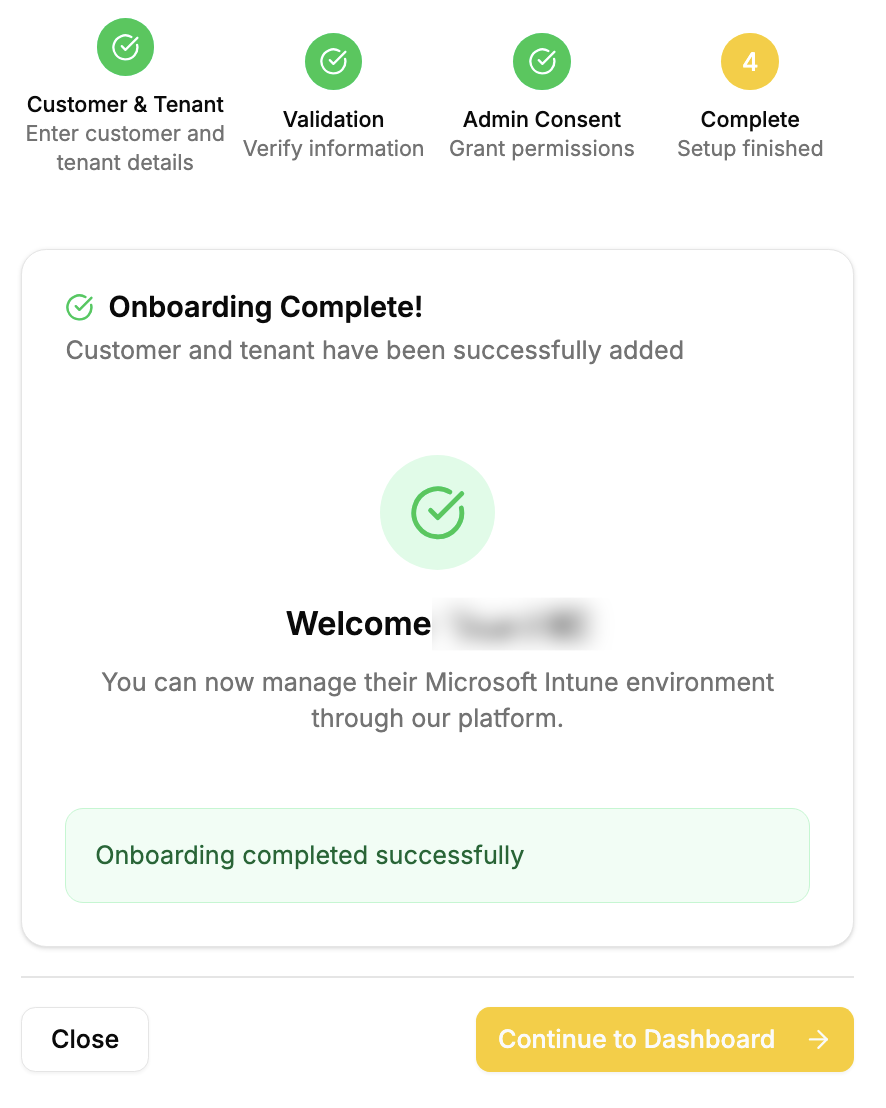
Ready to use IntuneAssistant
After successful consent, you'll be redirected back to IntuneAssistant with your tenant fully configured and ready to use. Sign in (using sign in button below) with your organizational account to access the dashboard and start using IntuneAssistant.
Post-Onboarding Verification
Once onboarding is complete, you can verify the setup:
You can verify your onboarding status on the customer page (2) using the user context menu (1) below
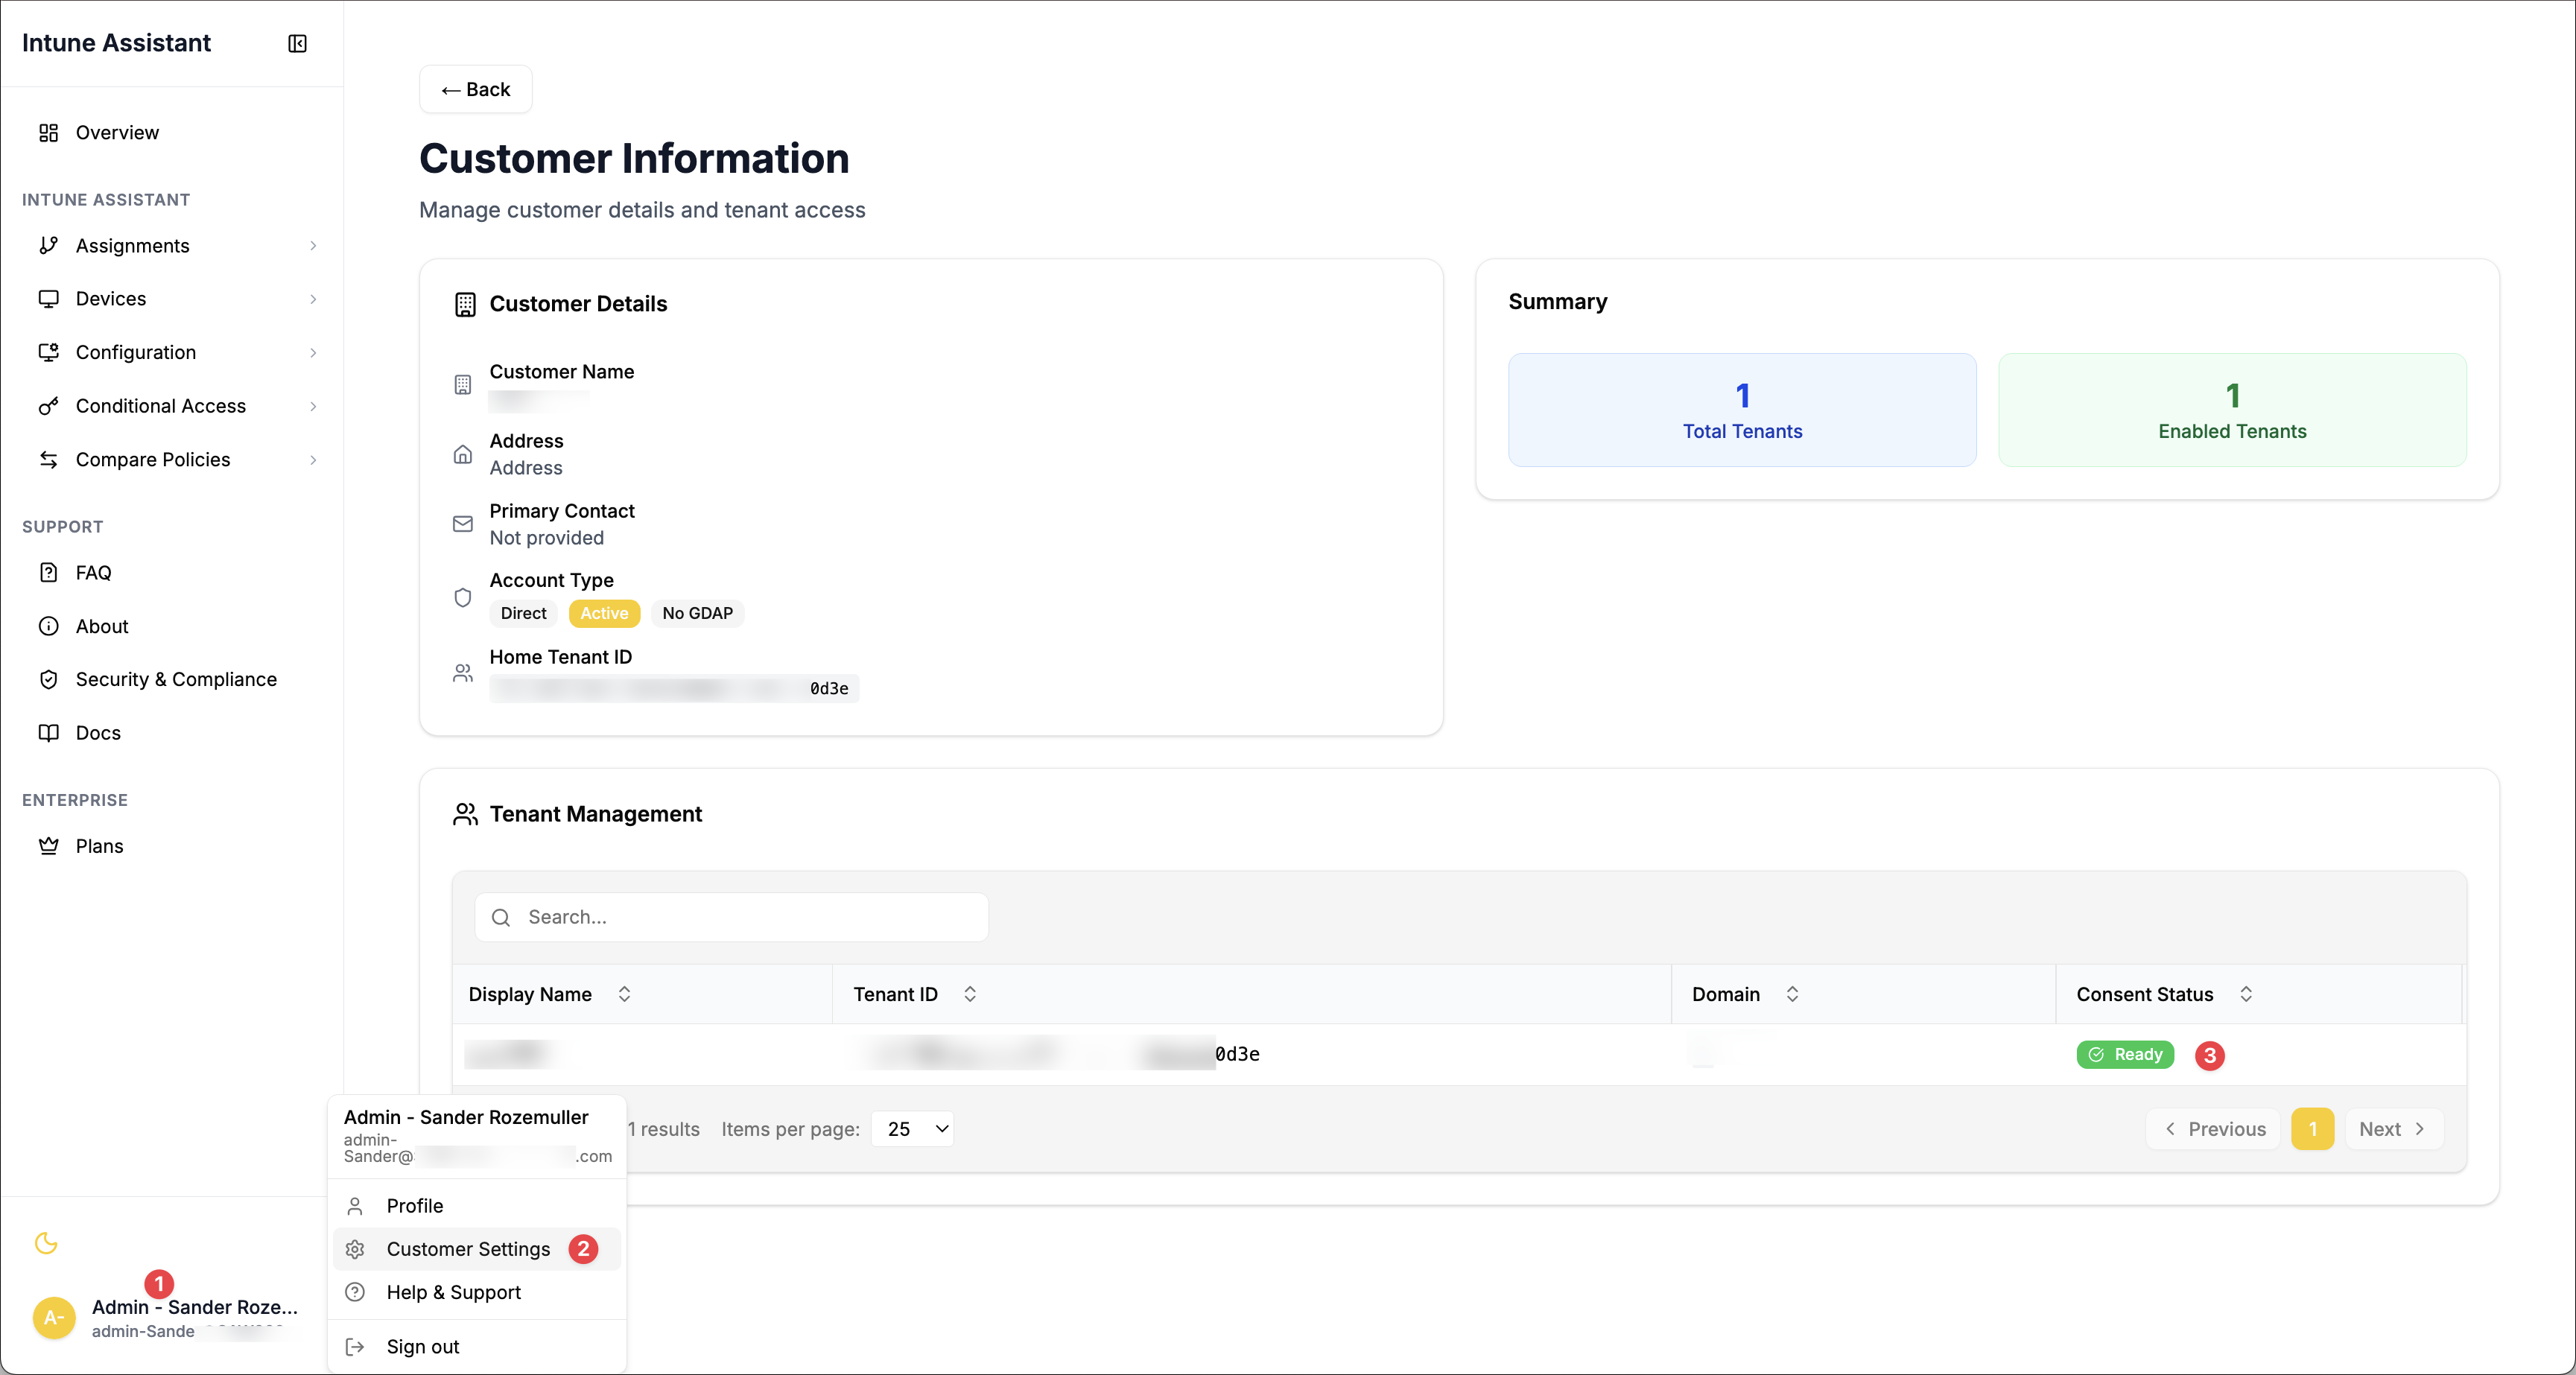
The consent status (3) should show as Ready.
Security & Privacy
No tenant data is stored in the backend database. Only your tenant ID and domain are registered for licensing and security purposes. All Intune data shown in the application exists only in your browser session and is removed when you log out. For more details, please refer to the Security page.
New Applications in Your Tenant
Check your Azure AD App Registrations - you should see two new applications:
- IntuneAssistant - Main application for user authentication
- IntuneAssistant API - Backend service for data retrieval
Next Steps
Now that your tenant is onboarded, explore these key areas:
📋 Assignment Management
Start managing your Intune assignments efficiently
💻 Device Overview
Monitor and manage your enrolled devices
🏢 Enterprise Features
Explore advanced features and premium modules
Troubleshooting
Having issues with onboarding? Check our troubleshooting guide:
- Consent errors: Ensure you have Global Administrator permissions
- Application not visible: Check Azure AD App Registrations after 5-10 minutes
- Access denied: Verify your account has appropriate Intune permissions
View detailed troubleshooting →
Need help? Visit the project's GitHub page and create an issue for community support, or contact our support team for personalized assistance.